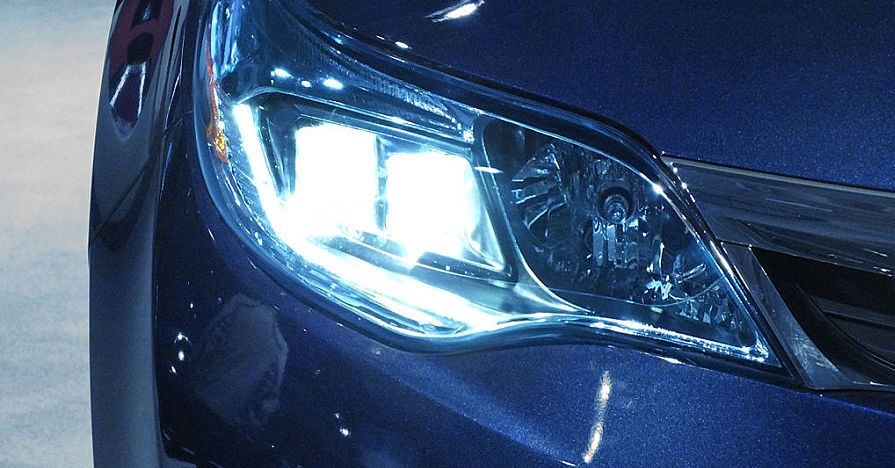
Here’s How To Properly Adjust Your Car’s Headlights
Everyone who has driven or ridden in a car in the middle of the night has experienced the glare of an oncoming car’s headlights. Many of us get annoyed, but dismiss it because what can you do, right? There are also instances where when we are driving, a car on the other side of the road flashes their lights to inform us that we are at fault this time.
A sheepish smile and a second of shame pass and that is all. We are unknowingly driving a vehicle with its headlights improperly adjusted. To avoid making this common mistake again, follow these simple headlight adjustment steps:
Step 1: Setting Up
Before you can test the new r107 euro headlights for sale you just installed if it is aligned, you need to gather a few tools. To perform the adjustment check you will need an even flat surface to park on, a clear wall to project the headlight on, a carpenter’s level, tape measure, a screwdriver, and finally some adhesive tape.
Step 2: Mimic Driving Conditions
Once you have all the tools needed, it is time to prepare the vehicle. First, make sure that all the tires are correctly and evenly inflated, the fuel tank is at least half full, and there is a person sitting on the driver’s seat. Park the car on a flat surface that is at least 10 to 15 feet away from the wall.
These will mimic the typical driving conditions and allow you to accurately adjust the r107 Euro Headlights for sale that has just been installed.
Step 3: Leveling The Car
Push the vehicle up and down on all of its four corners to allow the suspension to settle down. Doing this will also ensure that all the shocks are leveled. A great way to measure if the car is leveled is to take a measuring tape and measure the distance from the fixed point of the headlight to the floor.
Do this on both sides. If both measurements are within half an inch of each other, the vehicle is leveled.
Step 4: Measuring The Headlights
Turn on the headlights, but avoid the fog lights and high beams. Mark the horizontal and vertical centerlines using tape. Measure the height of the centerlines ensuring that none of them are higher than 3.5 feet from the ground. Use a carpenter’s level to see if both lights are even. If not, lower the higher light until both are leveled.
Step 5: Adjusting The Lights Manually
Take the screwdriver and remove each headlight one at a time. Read the owner’s manual for more details on how to correctly remove and install the headlights. Ask a friend to help turn the lights on and off as you adjust for better accuracy.
The Test Drive
Once the steps are completed, take the car out for a driver at night. If your field of vision is still not perfectly lit, readjust the headlights once more. Do not skip the test drive because there are many instances where first time adjustments do not work out and will require a second or third adjustment.
Visit Adsit today if you’re looking for r107 euro headlights for sale and other Mercedes Benz auto parts. Don’t hesitate to contact us if you’ve inquiries.